Monochromatic Painting
|
For this project, we'll be using paint as our medium. We'll also solidify our understanding of value and colour.
Materials
|
Process - Day 1
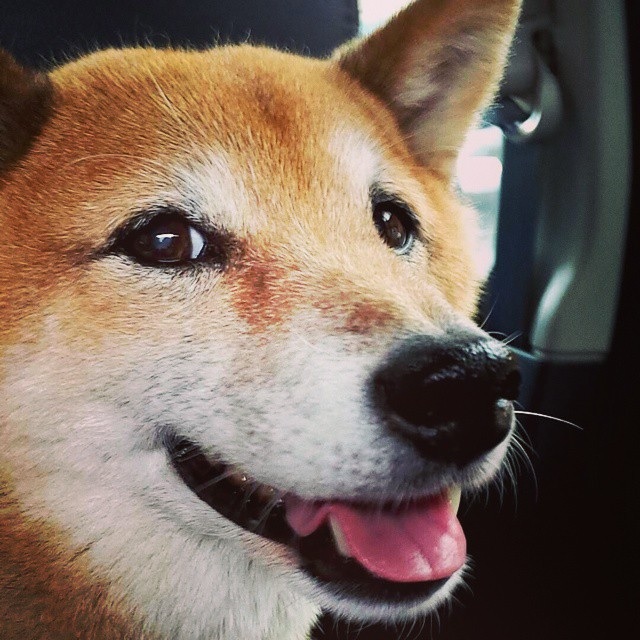
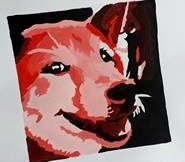
- Find an image that you would like to work with. This image should be fairly simple - the more detail in the image, the more detail you will need to include in your painting.
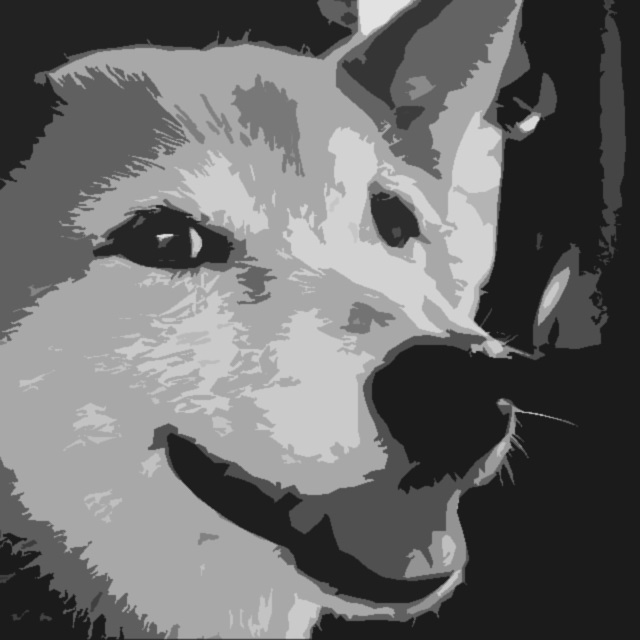
- Once you found the image you wish to work with, manipulate it in Microsoft Word.
- Open a blank document.
- Copy and paste your image into that document.
- Change the page orientation to fit your image. Enlarge your image so it takes up the majority of your page.
- Double click the image and turn it to grey scale.
- Click "Artistic Effects", and find the "Cut Out" option - bottom left
- Make sure you can distinguish at least five different shades of grey (including black and white)
|

|
|
Process - Day 2
|
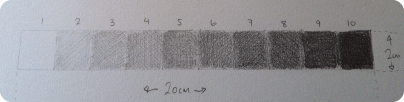
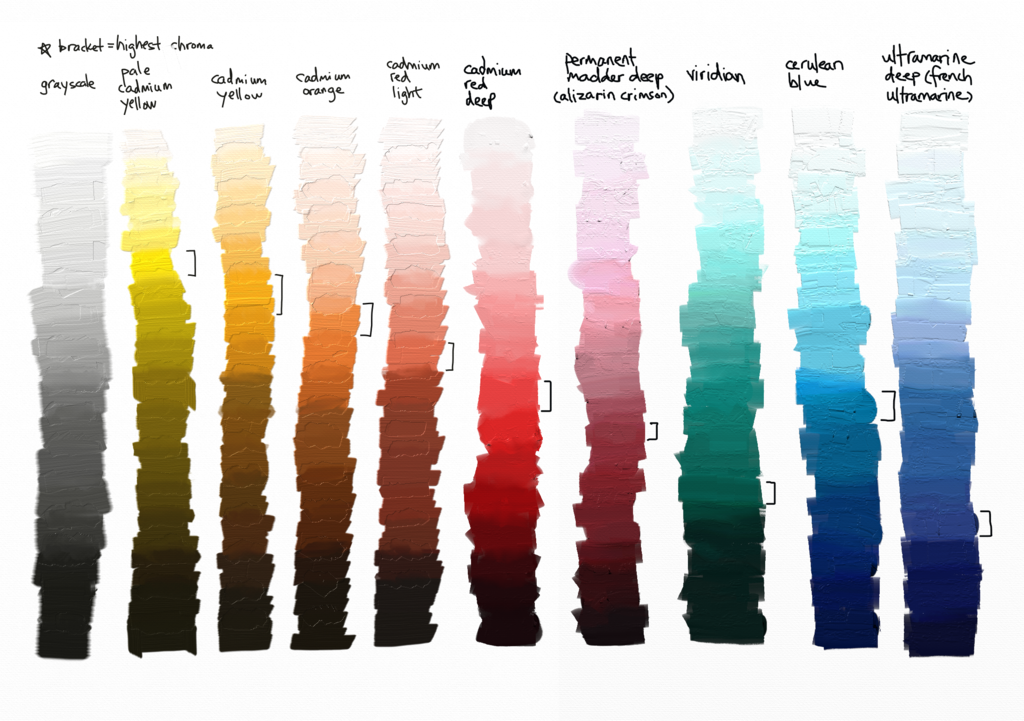
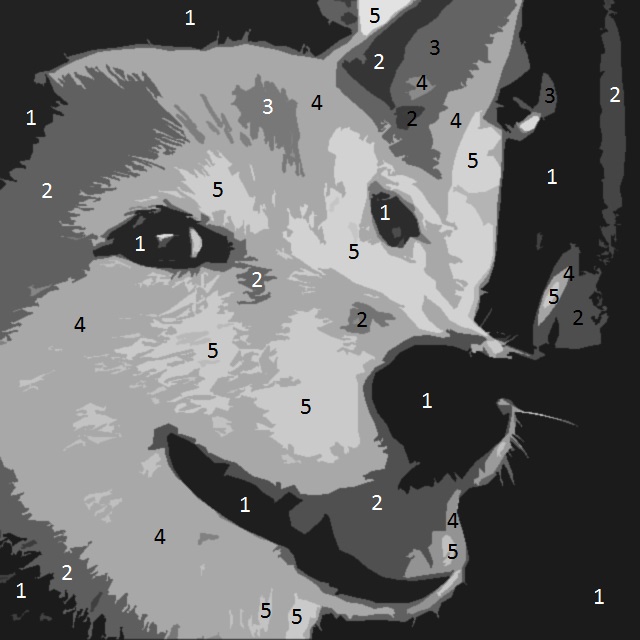
*Using paint, create one of these scales in your sketchbook.
|
Process - Day 2/3 - Transfer
- Turn your image over and with a piece of charcoal, coat the back entirely with a nice even layer of charcoal - it does NOT need be very dark!
- Once the back has charcoal on it, flip the image back over and VERY carefully, place the image on top, and centered, on the card stock paper provided.
- Tape down your image so you resist the temptation to "look"!
- With either a ball point pen or a pencil trace over the entire image - all the different sections of grey. You do not need to include the numbers, but you can if you want to.
- When you have traced out the entire image, you can remove your grey scale image from the card stock paper.
- After removing your grey-scale image, you should be left with an outline of your image.
- Add the numbers to your outline - very lightly!
*Essentially, you have created your very own paint by number :)
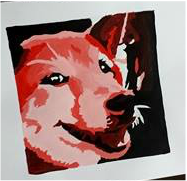
Process - Day 4-6 - Paint!
|
|
Tips for Painting
|